
A Guide to Safe Deadlift Technique for Lifters
A deadlift should make you feel capable, not fragile. Yet many active adults avoid the movement after a back flare-up, while others keep pulling through discomfort because they are unsure what is normal training fatigue and what is a warning sign. This guide to safe deadlift technique gives you a clear framework for building strength with better control, not simply forcing more weight onto the bar.
The deadlift is not inherently dangerous, and there is no single perfect-looking rep for every body. Your limb length, training history, available mobility, injury history, and goals all influence the version and range of motion that fit you best. Safe technique comes from creating a repeatable position, managing load appropriately, and progressing only when your body can own the next step.
A Guide to Safe Deadlift Technique Starts Before the Pull
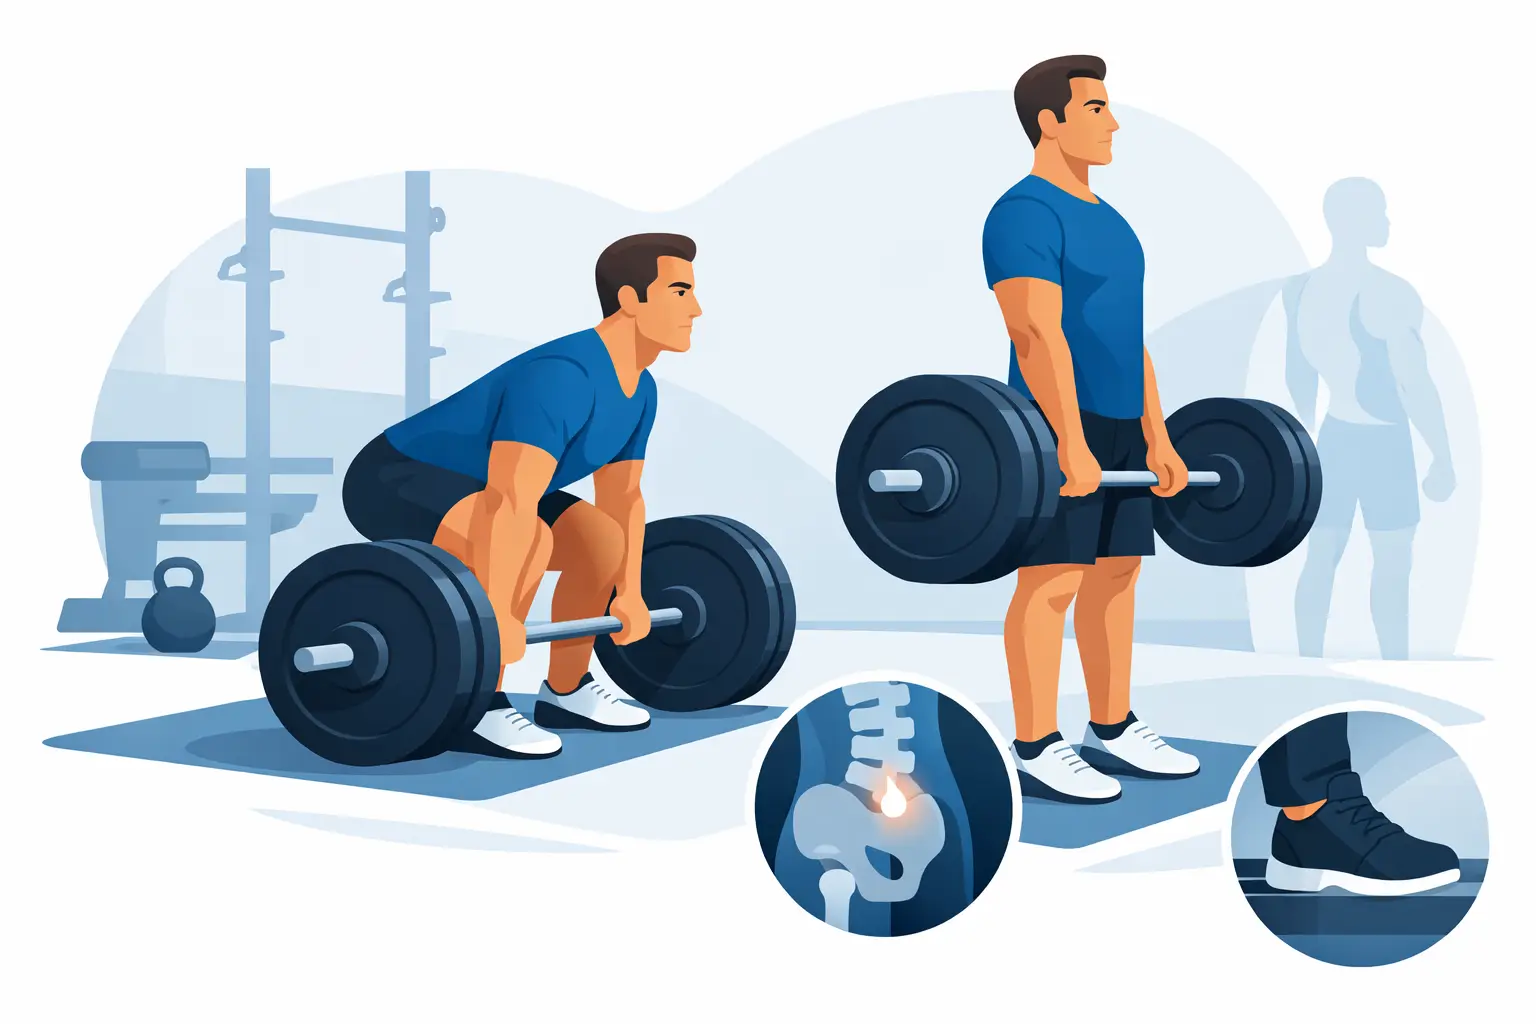
The rep begins before your hands touch the bar. A strong setup puts the load close to your center of mass and creates enough tension that you are not yanking the bar from the floor. When setup is rushed, the body often finds motion somewhere it does not control well, commonly through the low back, shoulders, or hips.
Start with your feet about hip-width apart. This is narrower than many people expect. Your stance should allow your arms to hang straight down outside your legs without forcing your knees inward. Place the bar over the middle of your foot, roughly an inch from your shins. If the bar begins too far forward, it will pull you forward as soon as it leaves the ground.
From there, hinge at the hips and reach for the bar. Bend your knees only enough for your hands to reach it while keeping your whole foot connected to the floor. Think about maintaining pressure through the heel, base of the big toe, and base of the little toe. Your shins may touch the bar as you settle in, but do not roll the bar away from you.
Before initiating the lift, build tension in this order:
- Grip the bar firmly and straighten your arms without trying to curl the weight.
- Pull your chest and upper back into a strong, connected position as if you are gently bending the bar around your shins.
- Brace your trunk by expanding your abdomen and lower rib cage in all directions.
- Take the slack out of the bar before it leaves the floor, feeling your body and the bar become one unit.
This final step is often the missing piece. The bar should not suddenly jerk off the floor. A controlled pull against the bar creates tension first, then the plates leave the ground.
Brace for Strength, Not a Rigid Back
A neutral spine does not mean your back must look perfectly flat. Everyone has natural curves, and those curves will vary slightly from person to person. The goal is to avoid losing control of your trunk under load, especially if your low back rapidly rounds or extends as the bar moves.
Effective bracing gives your spine support from the muscles around it. Before each rep, inhale into your abdomen, sides, and low back. Then tighten your trunk as if preparing to absorb a firm bump. Keep your ribs stacked over your pelvis rather than flaring your chest upward.
For many lifters, the cue “brace like someone is about to punch you” works. For others, it creates too much tension in the neck, shoulders, or pelvic floor. If you tend to hold your breath excessively, bear down aggressively, or feel pelvic pressure or leaking, your strategy may need adjustment. A pelvic health physical therapist can help you learn how to coordinate breath, pressure, and strength without avoiding challenging lifts altogether.
Drive the Floor Away
Once you are braced and the bar is tight, push the floor away. The deadlift is not a fast hip snap from the bottom and it is not a squat with the bar in your hands. Your hips and shoulders should rise together during the first portion of the pull, while the bar stays close to your legs.
Keep your lats engaged so the bar does not drift forward. A helpful cue is to imagine squeezing something in your armpits or pulling the bar toward your body. As the bar passes your knees, continue extending your hips until you are standing tall.
Finish with your glutes, not by leaning backward. At the top, your ribs should remain stacked over your pelvis, your knees should be straight but not forcefully locked, and the bar should rest against your thighs. Overarching at lockout may look dramatic, but it does not make the rep stronger. It often shifts unnecessary stress into the low back.
Lower the bar by sending your hips back first. Let the bar slide down your thighs, then past your knees. Once it clears the knees, allow the knees to bend enough to return the weight to the floor. Each rep should finish under control. Dropping the bar may be appropriate in a few competitive lifting settings, but it does not teach you how to own the full range of motion.
Common Deadlift Errors and What They Usually Mean
A rounded back is not automatically an injury, but a sudden loss of spinal position under a challenging load is a sign that the weight, range, or fatigue level has exceeded your current control. Reduce the load, elevate the bar, or use a variation that lets you maintain better tension while you build capacity.
If your hips shoot up before the bar leaves the floor, you may be starting with your hips too low or failing to create enough tension before the pull. Reset and think about pushing the floor away while keeping the bar close. If your shoulders are far in front of the bar, check whether the bar began over midfoot and whether your lats are engaged.
If you feel the deadlift only in your low back, do not assume the exercise is wrong for you. Your back muscles do work during a deadlift, but sharp pain, escalating symptoms, or repeated flare-ups warrant a closer look. The issue may involve load selection, bracing, hip mobility, recovery, or a movement strategy that is not matched to your current capacity.
Grip can also be a limiting factor. Use a double-overhand grip while possible, then consider chalk, straps, or a mixed grip based on your goals. Straps are a useful training tool when grip limits the posterior-chain work you need. A mixed grip can help with heavier lifting but should be practiced carefully and alternated between sides to avoid always loading one shoulder in the same position.
Choose the Right Deadlift Variation for Your Body
Conventional barbell deadlifts are effective, but they are not mandatory. The best variation is the one that allows you to train the intended pattern with confidence, control, and an appropriate challenge.
A trap-bar deadlift often feels more natural for lifters who are newer to the movement, have longer legs, or want a more balanced blend of knee and hip motion. The handles can reduce the demand of reaching all the way to a straight bar on the floor. Romanian deadlifts start from the top and emphasize the hip hinge, making them valuable for developing hamstring control without the complexity of a floor pull.
Kettlebell deadlifts, block pulls, and rack pulls can reduce the range of motion while you practice setup and bracing. Single-leg Romanian deadlifts challenge balance and hip control with lighter loads. None of these are lesser exercises. They are tools for matching the training demand to the person in front of you.
If getting into the start position causes pinching, significant stiffness, or symptom reproduction, elevating the bar is often a smart temporary modification. The goal is not to avoid the floor forever. It is to earn the floor pull through better mobility, control, and progressive strength.
Progress Load Without Outrunning Your Capacity
Good technique under a light bar does not guarantee readiness for a heavy one. Load changes the demands of the lift, and fatigue can change your positions as much as weight does. Treat progression as a test of capacity, not a test of toughness.
Start with a load you can move for several controlled repetitions without breath-holding panic, shifting pressure into your toes, or changing your back position late in the set. Add weight gradually when the movement remains consistent. For many recreational lifters, leaving one to three repetitions in reserve is a productive place to build strength while preserving quality.
Avoid increasing weight, volume, frequency, and range of motion all at once. If you move from elevated pulls to the floor, keep the load conservative. If you add a demanding sport season, long work hours, or poor sleep to the equation, your deadlift recovery may change. Training plans work best when they reflect your real life rather than an arbitrary spreadsheet.
Pain deserves context. Mild muscle soreness after a new training stimulus can be expected. Sharp pain, numbness, tingling, weakness, pain that worsens during a session, or symptoms that persist and limit daily activity should not be dismissed. Continuing to train may still be possible, but the exercise, dose, and technique need a more individualized plan.
At Back In Motion, this is where a root-cause assessment matters. Rather than labeling deadlifts as good or bad, we examine the specific movement limitation, strength gap, symptom behavior, and performance goal that determine your next best step.
A well-executed deadlift is built one repeatable rep at a time. Give yourself permission to adjust the variation, reduce the load, and seek skilled guidance when something does not feel right. That is not backing away from strength. It is how you build the kind that lasts.
About the Author: Dr. Scott Gray




 Call (239) 788-0838