
How to Improve Squat Mobility Without Forcing It
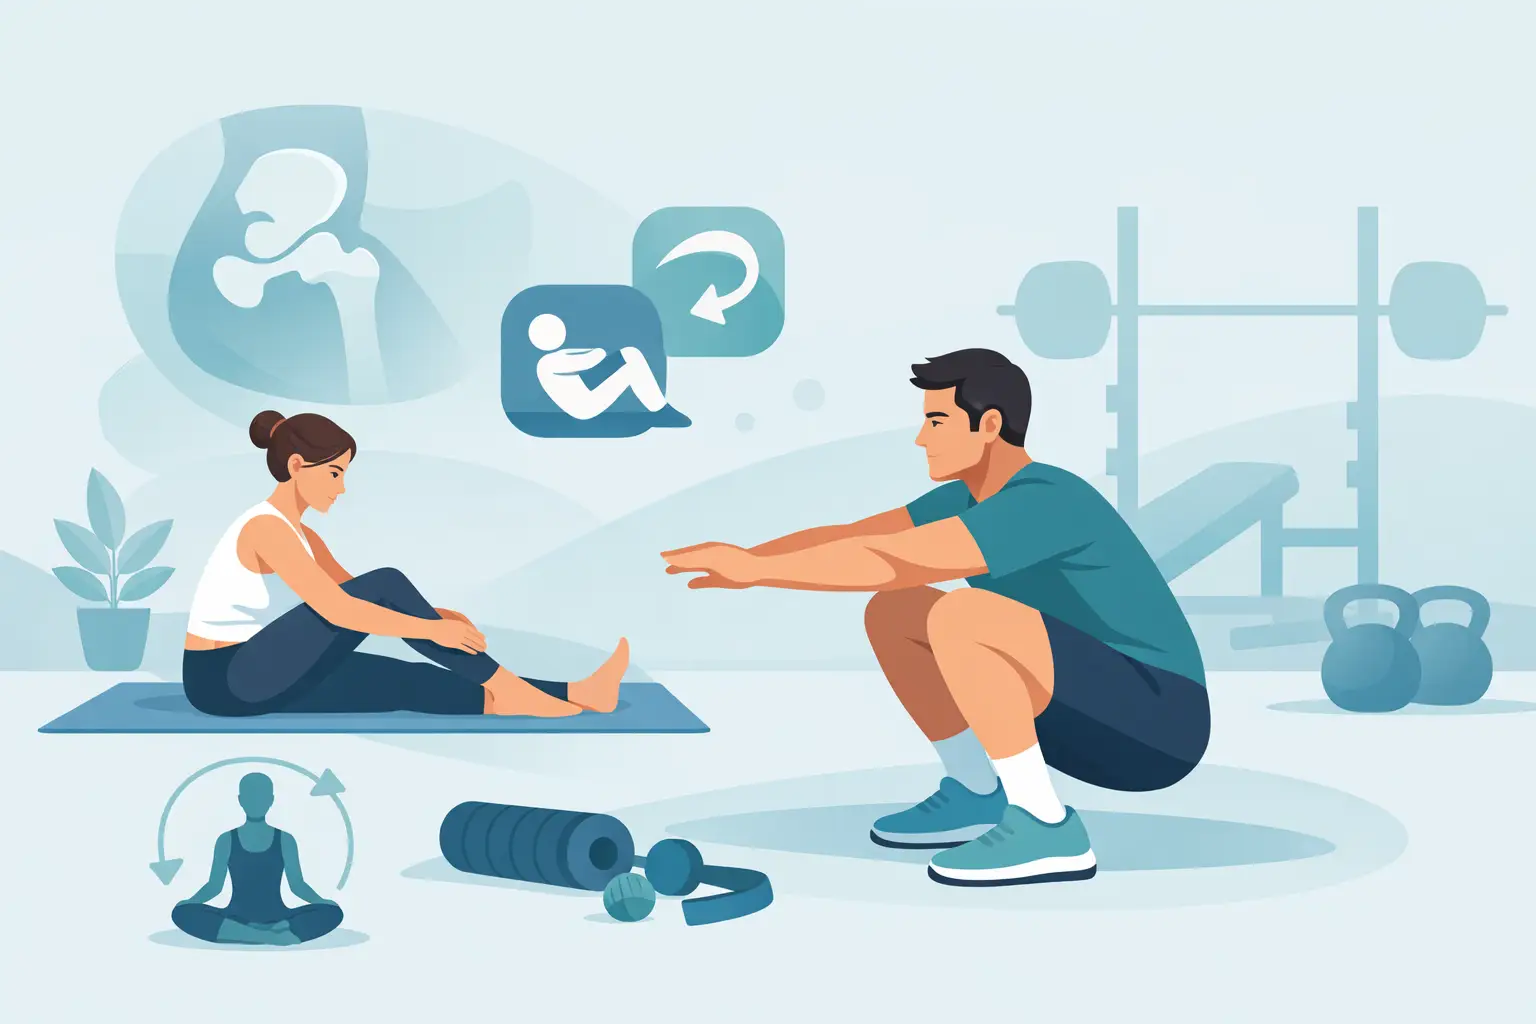
A squat that feels blocked at the bottom is rarely fixed by stretching harder. If you want to know how to improve squat mobility, start by identifying what is actually limiting the movement: ankle motion, hip position, trunk control, balance, strength, pain, or the specific squat variation you are using.
For an active adult or athlete, the goal is not to force your body into the deepest squat possible. The goal is to own a depth and position that matches your anatomy, training goals, and current capacity. That means moving with enough range to train effectively, enough control to stay out of irritating positions, and enough strength to make the improvement last.
Why Your Squat Mobility Feels Limited
Squat mobility is not one joint or one stretch. It is a coordinated movement involving your feet, ankles, knees, hips, pelvis, trunk, and breathing strategy. A restriction anywhere in that chain can make the bottom of a squat feel tight, unstable, pinchy, or simply unavailable.
Limited ankle dorsiflexion is a common contributor. When the shin cannot move forward over the foot adequately, the body often finds another option: the heels lift, the feet turn out excessively, the knees collapse inward, or the torso folds forward. That does not mean ankle mobility is always the problem, but it is a worthwhile place to assess.
Hip mobility can also matter, especially if you feel a firm block or a pinch at the front or side of the hip. However, hip structure varies significantly from person to person. Your hip sockets, femur shape, and the way your pelvis moves all affect what a comfortable squat looks like. A narrow, feet-forward stance is not automatically superior to a slightly wider stance with the toes turned out.
Sometimes the issue is not passive range of motion at all. You may have enough mobility to reach depth but lack the leg strength, trunk control, or confidence to control that position under load. If you can sit comfortably in a deep bodyweight squat while holding onto a rack but lose position when you let go, the missing piece may be stability and strength rather than more stretching.
How to Improve Squat Mobility: Assess Before You Stretch
A useful self-check starts with a bodyweight squat from the side and front. Use a stance that feels natural, keep your whole foot connected to the floor, and lower slowly. Notice where the movement changes.
If your heels rise early, your ankles may be limiting the motion or your current stance may demand more ankle range than you have. If your chest drops forward dramatically, it may reflect ankle limitations, hip limitations, a long-femur body type, or inadequate trunk and leg strength. If you feel a sharp pinch, catching, or pain, do not repeatedly push through it to chase depth.
Next, compare a squat with your heels elevated on small wedges or weight plates. If you immediately reach a better depth with a more upright torso and no pain, ankle dorsiflexion is likely part of the equation. Heel elevation is not cheating. It is a training modification that can help you squat well while you work on the underlying limitation.
Then test a few stance options. Try placing your feet slightly wider, turning the toes out modestly, or using a goblet squat as a counterbalance. A change that improves comfort and control gives useful information. It may also be the best long-term squat setup for your body, not a temporary compromise.
Separate stiffness from symptoms
Muscular tension and joint discomfort are not the same thing. A stretch-like sensation in the calves, adductors, or glutes can be appropriate during mobility work. Sharp pain, deep joint pinching, numbness, tingling, buckling, or pain that persists after training deserves a more individualized assessment.
This distinction matters for people returning from knee, hip, back, or pelvic health concerns. Mobility drills cannot resolve every movement problem, particularly when pain has changed how you load, brace, or trust the position. The most effective plan is built around the cause of the limitation, not just the location where you feel it.
Build Mobility You Can Control
The most reliable approach combines short mobility exposures with strength work in the newly available range. Stretching may create a temporary window, but your nervous system needs repeated, controlled practice to consider that range useful and safe.
Improve ankle motion with load and control
Start with a knee-to-wall ankle mobilization. Stand facing a wall with one foot flat on the floor. Drive the knee forward toward the wall while keeping the heel down and the arch from collapsing. Work within a comfortable range, pause briefly near the end, and repeat with control.
Follow that with a movement that asks you to use the range. A split squat with the front heel grounded is an excellent option. Let the front knee travel forward as you descend, keep the foot planted, and use a range you can control without pain. This trains the ankle, knee, hip, and foot as a unit rather than treating the calf as an isolated problem.
Calf raises also belong in the plan. Strong calves and feet help control forward shin movement, absorb force, and maintain a stable base during squatting, running, and jumping.
Find a hip position that fits your structure
For hips, prioritize active positions over aggressive stretching. A controlled adductor rock-back can help you explore inner-thigh length and hip flexion. Start on hands and knees, extend one leg to the side, and gently shift your hips backward while maintaining a neutral, controlled spine. You should feel a manageable stretch, not a forced end range.
Then use a goblet squat hold. Holding a light dumbbell or kettlebell in front of your chest gives you a counterbalance that can make it easier to sit between your hips. Lower into your best comfortable depth, take a slow breath, and use your elbows to create gentle outward pressure against the knees only if that feels natural. Stand back up with control.
The purpose is not to park at the bottom and wait for flexibility to appear. It is to practice a strong, stable bottom position that your hips can repeatedly access.
Train the trunk and pelvis to support depth
A squat requires the trunk to manage the load while the hips and knees move. If you lose your brace or fold forward as you descend, your body may interpret depth as unstable even when the joints themselves have enough motion.
Front-loaded squats, such as goblet squats and front squats, can be useful because the load encourages a more upright torso. Tempo squats can also expose where control disappears. Try a three-second lower, a brief pause above the point where form breaks down, and a deliberate return to standing.
Breathing matters here, especially for athletes and adults who habitually grip through the abdomen, glutes, or pelvic floor. A strong brace is not the same as constant maximal tension. Learning to expand through the rib cage and abdomen, then create controlled pressure for the lift, can improve both trunk stability and comfort. This is highly individual, particularly after pregnancy, with pelvic pain, or when dealing with leakage or pressure symptoms.
Use Regressions That Keep You Training
You do not need to wait for perfect mobility before training your legs. Smart regressions let you build strength without repeatedly reinforcing a painful or unstable squat.
A heel-elevated goblet squat can reduce the ankle demand. A box squat can provide a clear depth target and build confidence. A split squat allows each side to work independently and often reveals asymmetries hidden in a bilateral squat. A landmine squat can offer a supported loading path for people who struggle to stay upright.
Choose the variation that lets you maintain foot pressure, knee control, trunk position, and a pain-free range. As your control improves, gradually lower the box, reduce heel elevation, add load, or progress to a more demanding variation. Progression is more valuable than forcing a standard that does not currently fit.
A Simple Weekly Strategy for Better Squat Mobility
Consistency beats marathon mobility sessions. Before lower-body training, spend five to eight minutes on the specific limitation you identified: ankle mobilizations, controlled hip work, and a few slow squat patterning repetitions. Then train a squat or split-squat variation in a range you can own.
On two additional days, use brief practice rather than an exhausting routine. A few controlled ankle mobilizations, adductor rock-backs, goblet squat holds, and calf raises can be enough to reinforce the positions. The dosage depends on your training load, recovery, and symptoms. More is not automatically better if your joints feel irritated afterward.
Track meaningful markers instead of relying on how loose you feel. You might measure whether your heel stays down, whether you can reach a target depth without pain, whether the same load feels more stable, or whether your knees and back recover better after training. Those are signs that mobility is becoming usable strength.
When a Professional Assessment Helps
If your squat is limited by recurring hip, knee, back, or pelvic symptoms, a generic mobility routine may keep you busy without changing the problem. The same is true if one side consistently shifts, a previous injury has altered your confidence, or your range improves briefly but disappears under load.
A movement assessment can determine whether the restriction is coming from joint motion, tissue capacity, motor control, loading strategy, or an issue outside the squat itself. At Back In Motion Physical Therapy & Performance, the focus is on connecting that assessment to a clear progression so mobility work carries into strength training, sport, and daily life.
Your best squat may not look exactly like someone else’s. Build the range your body can control, strengthen it patiently, and let better movement earn its way into heavier training.
About the Author: Dr. Scott Gray


Get Dr. Gray's Best-Selling Book, Free
Why pain keeps coming back, and how The Gray Method™ helps you fix it for good.
Send Me the Free BookOur Most-Read Articles
- 1Three Conditions That Mimic Sciatica PainBack
- 2The Great Plantar Fasciitis Debate: Why Boots & Cortisone Rarely Fix ItFoot
- 3Common Causes of Lower Back Pain: Herniated DiscBack
- 4The 3 Most Common Symptoms of Knee Meniscal TearsKnee
- 5What Is Hip Bursitis?Hip
- 6Pelvic Pain Explained: When It's Not a UTI but Feels Like OnePelvic
What Do You Need Help With?
- 🩺Back, neck & joint pain→
- 💪Fitness for adults 50+→
- 💙Pelvic health→
- ⚡Sports performance→
- ⛳Golf performance→
Talk to a Doctor of Physical Therapy
One-on-one care that finds the cause of your pain. Fort Myers, Cape Coral & Estero.
Inquire About an Appointment Or call (239) 223-0484
